
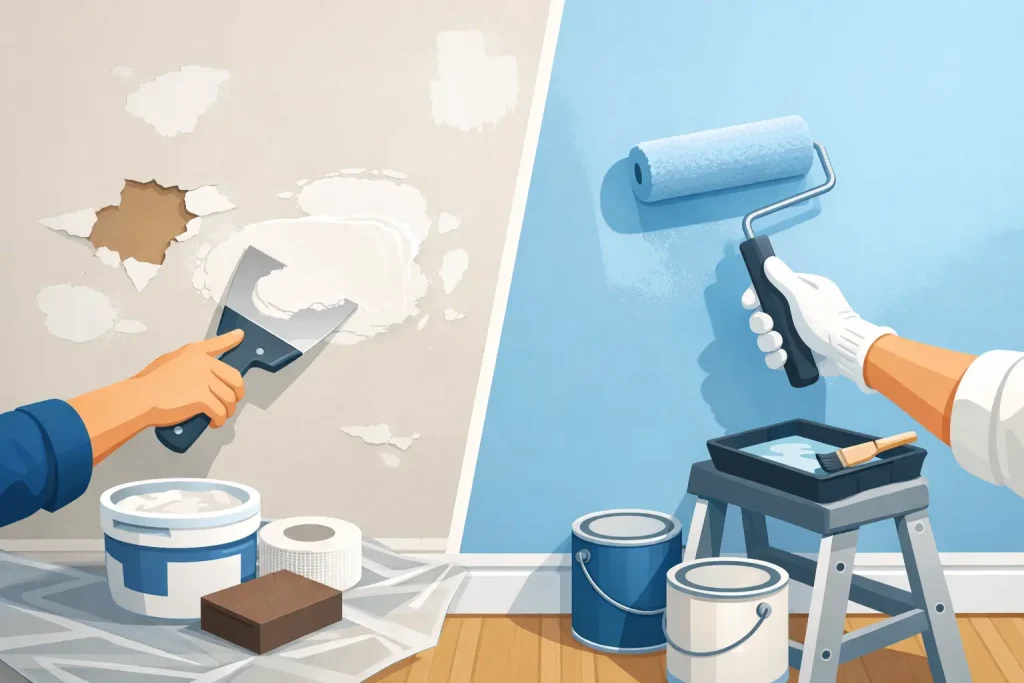
A new wall color can make a room feel completely different, but it will not hide a bad patch, a nail pop, or a crack running above the doorway. In fact, fresh paint often makes those problems easier to see. Drywall repair before painting is what separates a clean-looking paint job from one that feels unfinished the moment daylight hits the wall.
For Kansas City homeowners planning an interior update, taking care of wall damage first protects the money spent on paint and labor. It also helps the finished color look even from wall to wall, whether you are refreshing one bedroom or repainting the whole house.
Why Drywall Repair Comes Before Paint
Paint is a finish, not a fix. It can cover small discolorations, but it will not level dents, rebuild damaged corners, or hold together a crack caused by movement. When paint goes over an uneven surface, light catches every raised edge and low spot.
One common issue is flashing. This happens when patched areas absorb paint differently than the surrounding drywall, leaving dull or shiny spots that show through after the paint dries. Proper repair, sanding, and priming help the wall absorb paint more evenly.
Skipping repairs can also create a short-term job that needs attention again sooner than expected. A loose section of tape or an active crack may reappear through a new coat of paint. Addressing the cause first gives the finish a much better chance of lasting.
What to Check Before Painting
Walk through the room with the lights on and the blinds open. Look across the walls from different angles, not just straight on. Natural light and side lighting are especially good at showing imperfections that can disappear in dim rooms.
Small nail holes and picture-hanging holes are usually straightforward repairs. Larger holes, impact damage, water stains, cracked seams, and damaged outside corners need more attention. A wall may look mostly fine at first glance but still have enough small defects to affect the final result.
Pay close attention around doors, windows, light switches, vents, and baseboards. These areas get bumped, rubbed, and touched more than the center of a wall. They are also where old caulk lines, gaps, and paint buildup tend to show up.
Nail Pops and Small Holes
Nail pops occur when a fastener pushes through the drywall surface, creating a small raised circle or crack. Simply applying joint compound over it may not be enough. The drywall often needs to be secured again near the affected fastener before the surface is patched, sanded, and primed.
Small holes from nails, anchors, or wall décor can typically be filled with spackle or joint compound. The key is applying enough material to fill the hole without leaving a raised lump. After it dries, the area should be sanded smooth and checked by touch as well as sight.
Cracks Along Seams and Corners
Hairline cracks can be cosmetic, but they should not automatically be treated as a quick paint-over. A crack along a drywall seam may point to loose tape, settling, seasonal movement, or a previous repair that was not completed correctly.
For a lasting repair, loose material needs to be removed, the seam needs to be stabilized, and new tape and compound may be needed. Flexible caulk can work for small gaps where trim meets the wall, but it is not a substitute for correctly repairing a drywall seam.
If cracks keep coming back, or doors are sticking and floors feel uneven, it may be worth checking for a larger moisture or structural issue before investing in painting.
Dents, Holes, and Damaged Corners
Furniture moves, kids play, and doorknobs hit walls. Small dents can often be skimmed with compound, while larger holes may need a drywall patch or replacement piece. The bigger the repair, the more important it is to feather the compound well beyond the damaged spot.
Outside corners are another area where rushed repairs stand out. If the metal or vinyl corner bead is bent, loose, or exposed, it may need to be reset or replaced. Covering it with paint will not make a damaged corner look straight.
Water Damage and Stains
A brown ring on drywall is not just a painting problem. Before repairing and painting, the source of the moisture must be fixed. That could mean a roof leak, plumbing leak, condensation issue, or water getting in around a window.
Once the area is dry and the problem is resolved, damaged drywall may need replacement rather than a surface patch. Stains also need a quality stain-blocking primer. Without it, discoloration can bleed through even several coats of finish paint.
The Right Drywall Repair Process Before Painting
Good results come from a simple process done carefully. The repair is filled or patched, allowed to dry fully, sanded smooth, checked under good lighting, and primed before the finish paint goes on. Larger repairs often need more than one thin coat of compound rather than one heavy application.
Drying time matters. Joint compound can look dry on the surface while still holding moisture underneath, especially during humid weather. Sanding or painting too early can lead to soft spots, shrinkage, or visible edges later.
After sanding, walls should be cleaned of dust. Drywall dust can affect paint adhesion and leave grit in the finish. A careful wipe-down or vacuuming step makes a noticeable difference, particularly on dark colors and walls with a sheen finish.
Primer is the step many people skip, and it is often the reason patches show through. Primer seals the repaired area so it does not soak up paint differently than the rest of the wall. For bare drywall, fresh joint compound, or significant patches, spot priming is usually the minimum. When there are many repairs or major color changes, priming the entire wall can produce a more uniform finish.
When a DIY Patch Makes Sense and When It Does Not
Filling a few nail holes is a reasonable weekend project for many homeowners. It is low-cost, low-risk, and does not require much more than filler, a putty knife, sanding material, and primer. The trade-off is that a patch can still show if it is not feathered and sanded carefully.
Professional help is often the better choice when there are multiple cracks, large holes, water damage, extensive texture matching, or repairs in highly visible spaces. A smooth wall in a living room with large windows can be less forgiving than a small repair in a closet. High-gloss and satin paints also reveal imperfections more than flat paint.
Texture adds another decision point. Orange peel, knockdown, and other wall textures need to be matched after the repair. A flat patch on a textured wall will stand out just as much as an unpainted patch. Matching texture takes practice, and a contractor can save time and frustration when the damaged area is noticeable.
Do Not Let Paint Choice Hide a Repair Problem
Flat paint is more forgiving than glossy paint, but choosing a flatter sheen should not be the plan for hiding poor drywall work. It may reduce the visibility of minor flaws, yet cracks, uneven patches, and damaged corners will still be there.
A better approach is to repair the wall correctly, then choose paint based on how the room is used. Flat or matte finishes work well for many ceilings and low-traffic walls. Eggshell and satin are popular for living areas, hallways, kitchens, and bathrooms because they are easier to clean, though they show surface defects more readily.
Color also changes what you see. Deep blues, charcoal grays, and other dark colors can make patch edges and sanding marks more visible. Strong sunlight from Kansas City’s changing seasons can do the same. These situations call for extra care during repair and priming.
Get the Wall Ready Once, Not Twice
The best time to find wall issues is before painters start opening cans and covering floors. Point out every crack, stain, old anchor hole, and damaged corner during the estimate. That gives you a clearer scope of work and helps avoid surprises after painting has already begun.
Half Now Half Later Painting & Remodeling LLC can evaluate drywall repairs as part of an interior painting project, so homeowners can address the wall condition and the new finish in one plan. Free estimates make it easier to understand the work involved, and no-interest payment plans for labor costs can help make needed upgrades more manageable.
A freshly painted room should draw attention to the color, the trim, and the space itself – not the dents and patches underneath. Taking the time to repair drywall first gives your new paint the clean surface it deserves.